
Lighting, especially in corporate films, is a part of the filmmaking process that, if skipped, really stands out.
Badly lit interviews can cause the viewer to completely switch off from the conversation they are watching because subconsciously their brain is trying to right the wrong they are viewing. Done well, lighting can really add mood and texture to your story. That can be achieved by simply using something like a hair light or a bounce disk.
It always pays to spend the little bit of extra time getting it right in front of the camera rather than trying to fix a problem in post-production. It’s something I really try to practice (although I know a few little tricks to get you out of trouble when you’re in a pressured situation and you have to film the interview right now, too).
Evolution of professionalism
Corporate filmmaking has evolved over the last 10 years from interviews looking like a news package to having a much more cinematic look to them. The release of the DSLR shooting video eight years ago has changed the aesthetic landscape for interviews and made a look achievable that had previously only been possible on $100,000+ cameras.
So, now we have the ability to film cinematic-looking interviews on a fraction of the budget. Quite often though, lighting is forgotten about. That’s because the camera and its fast lenses are relied upon instead. But with a few little hot tips, and some education on industry lingo, we can make those interviews pop!
1. Hold the flecky!
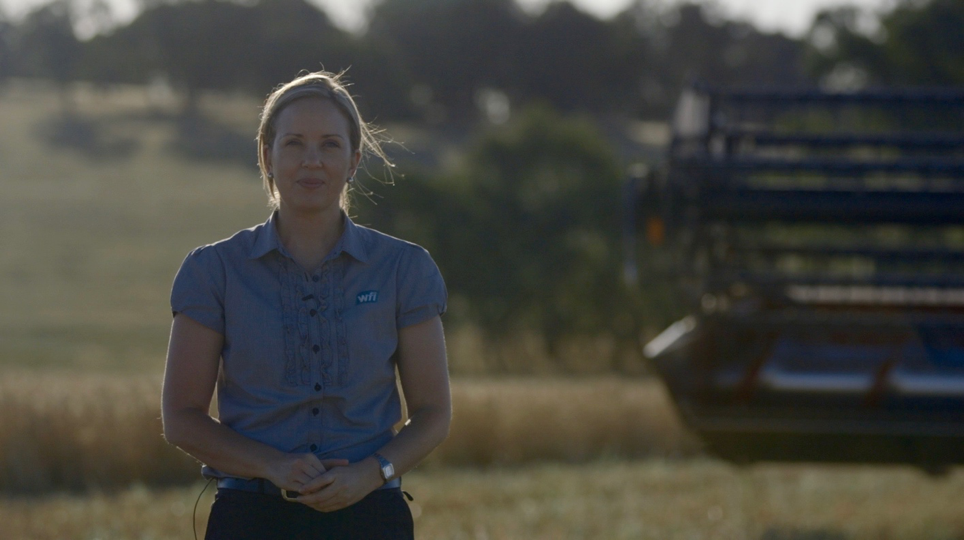
What’s a “flecky”, I hear you ask? Well, its correct name is a “reflector disk” or a “bounce disk” and it is used for that precise purpose — reflecting or bouncing light from a source onto the talent. The flecky is one of the most useful pieces of kit, as it is so versatile. You can bounce light up under the talent’s neck or chin to expose shadows correctly, you can bounce light to even up the lighting on your talent’s face or you can use it in a studio environment to direct light onto the talent instead of shining bright lights directly into the talent’s eyes, causing them to squint. (See the main picture above for an example).
I often see badly lit interviews that are put down to “a lack of budget”. In other words “we couldn’t bring lights”. Using a reflector kit and ten minutes of set-up time can easily solve this. This doesn’t negate the need for lights entirely, but make sure you always ask your production house if they packed the flecky!
Without flecky
2. Backlight
There’s nothing worse for an interviewee than having to look directly into the sun. It causes them to squint and sweat — and neither are things you want to capture in an interview.
By simply placing the talent’s back to the sun you automatically get a beautiful backlight and a light source to reflect from. This simple technique always pays dividends in shot aesthetics and talent comfort.
3. Switch off the lights
I know it seems strange to mention this in a blog post about correct lighting but, switch off the lights. This a big mistake commonly made when filming interviews inside.
In order to create a visual mood for an interview you need to light for that mood, and office fluorescent light always kills the mood. Guaranteed. Every time.
Camera shutters also can’t shutter out the hertz of a fluoro. If you film in this scenario you will get what’s called “banding” across your interview, which is subtle green and orange lines that cannot be colour-corrected out later on.
Remember we are lighting to create a visual palette that complements the rest of the film. By switching off all internal lights and lighting with the production house lights, external light or bounced light, you create depth, texture and mood.
A scene lit with two LED panels and a flecky, bouncing light from the window to the right and backlit from a window behind the talent.
4. Work the room
When filming interviews your production house shouldn’t be afraid to move furniture around, switch off lights, move the talent around or choose a better location, et cetera, to get the best possible outcome for your corporate film.
You can always find depth in a shot, you can always find a better backdrop than a fluoro-lit room and a whiteboard, and you can always take 10 minutes to scout a location that is going to complement the talent and the story.
Lighting makes a world of difference
Lighting is a crucial part of storytelling and there are so many variables with it. That’s why there’s an entire profession dedicated to it. But if budget doesn’t permit a dedicated lighting or “grip” department, then these are just a few simple ways to make sure your story is told the best it can be.
If you’re looking for a video production house that understands how to get corporate video communications right, talk to the team at Lush Digital Media.
Like what you’ve read? Sign up to the Lush newsletter (top right-hand side of this page) for fortnightly advice to help you market your business better, tips from our video production gurus, and a podcast or two from our favourite podcasting team - Brand Newsroom. In the meantime, you might enjoy reading these:
Sound: achieving greatness in film production
Successful video production: the essential ingredients
3 practical tips to create a film set
The one big reason so many corporate videos fail


